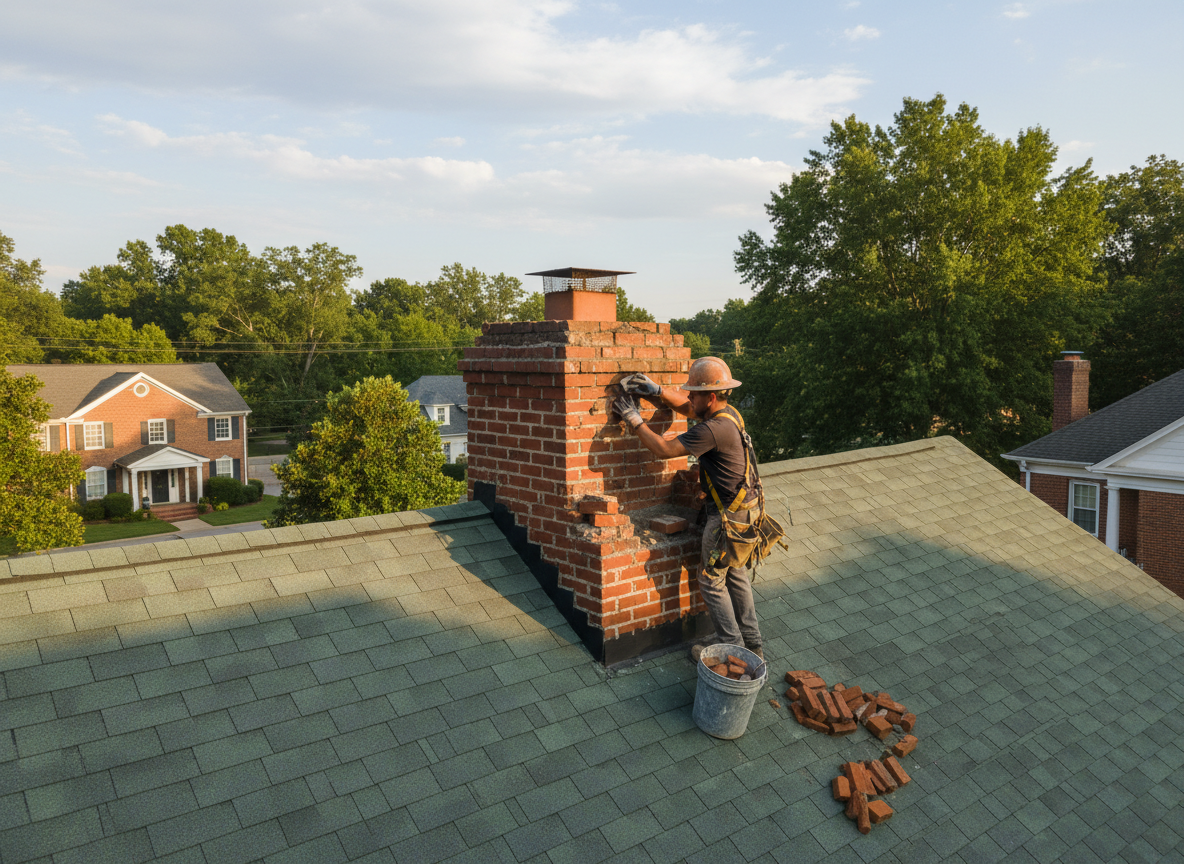
Roof chimney repair in Montgomery often starts with checking the flashing where the chimney meets the roof. Older homes in the area frequently have brick chimneys that settle over time, allowing water to enter behind the flashing and damage the roof deck. We inspect the crown, cap, and any step flashing before deciding whether to reseal or rebuild sections. Skipping this step leads to repeated leaks during spring rains.
Montgomery's mix of ranch homes and two-story brick houses from the mid-20th century means many chimneys sit on the main roof ridge. When the mortar joints deteriorate, water runs down the flue and stains ceilings below. We use stainless steel flashing that matches the existing roof pitch rather than generic kits that fail within a few seasons. Homeowners notice the difference after the first heavy downpour.
Working on roof chimneys here requires attention to the steep pitches common on homes near the Little Miami River corridor. Loose bricks or crumbling crowns let wind-driven rain enter the attic insulation. We remove damaged material, install new refractory mortar, and tie the new work into the existing roof underlayment so the repair lasts through freeze-thaw cycles without reopening.
Code requirements in Hamilton County call for proper cricket installation on chimneys wider than 30 inches to prevent snow and debris buildup. We verify the cricket angle matches the roof slope before finishing. This detail keeps water moving off the roof instead of pooling against the chimney back.
Technician insight
In Montgomery, the thing that catches most people out with roof chimney repair is how the clay tile roofs on 1960s homes around Montgomery Road expand and contract differently than the brick chimney, breaking the seal at the step flashing within five years.
Ridge Chimney Leak After Winter
Water stains appeared on the second-floor ceiling of a Montgomery home after repeated freeze-thaw cycles. We found failed step flashing where the chimney met the asphalt shingles. We replaced the flashing with new copper step pieces tied into the existing underlayment and rebuilt the crown with refractory mortar. The homeowner reported no further leaks after the next heavy rain.
How it works
- 1
Initial Inspection
We climb the roof and examine flashing, crown, and mortar joints for water entry points.
- 2
Material Assessment
We check brick condition and roof underlayment to determine the extent of repair needed.
- 3
Repair Execution
We replace or reseal flashing, rebuild the crown if required, and restore mortar joints.
- 4
Final Check
We test the repair with water and confirm no leaks remain before leaving the site.
Pricing
Pricing depends on roof pitch, chimney height, and extent of brick or flashing damage. We provide upfront quotes after inspection.