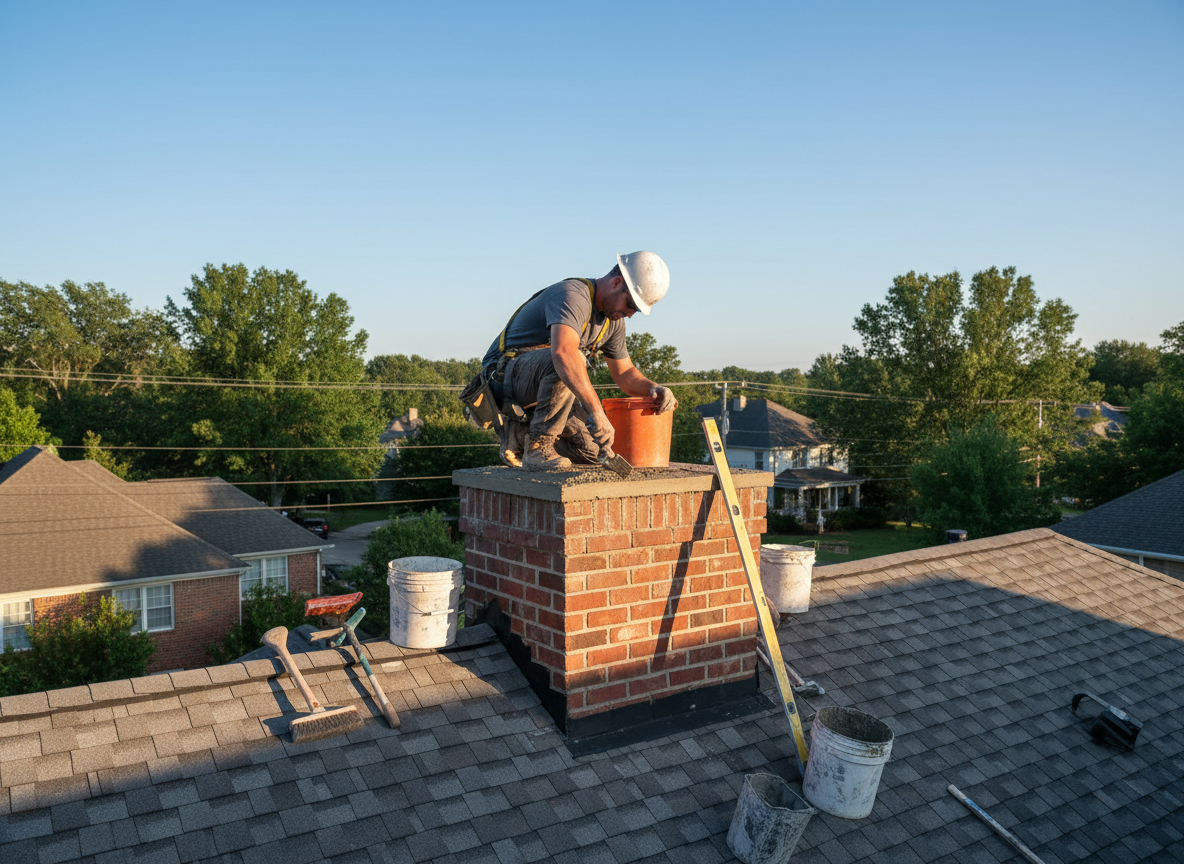
Chimney crowns sit at the top of the flue and shed water away from the masonry below. In Montgomery homes, age and settling often create hairline cracks that let moisture reach the flue liner and brick joints. Repair starts with removing loose material, then installing a new cap using a high-temperature concrete mix reinforced with fibers to resist thermal cycling. Proper slope and a drip edge keep water from running back under the crown.
Edge cases include crowns poured directly over old flashing without expansion joints, which leads to rapid cracking when the chimney heats and cools. We also see water pooling where the crown meets the flue tile if the original pour lacked a bond breaker. Code considerations in the Montgomery area require the crown to extend at least two inches beyond the chimney walls on all sides and maintain a minimum two-inch clearance from the flue tile.
Homeowners sometimes attempt DIY patches with standard mortar or caulk that fails within a season. A correct repair uses refractory mortar at the tile-to-crown joint and a monolithic pour or pre-cast cap sized to the existing chimney. After the new crown cures, we test for water shedding by running a hose at the top and checking the interior flue for leaks before leaving the job.
Technician insight
In Montgomery, the thing that catches most people out with chimney crown repair is older brick chimneys on mid-century homes where the foundation has settled unevenly, tilting the crown so water pools instead of shedding. That tilt turns a simple cap job into extra work rebuilding the top courses before the new crown can sit level.
Cracked Crown on Montgomery Brick Chimney
Homeowner noticed interior water stains after heavy rain. Inspection showed a cracked crown with no drip edge allowing runoff into the flue. We removed the damaged cap, rebuilt the top brick course for level, and poured a new reinforced crown with proper overhang. Water testing confirmed no further leaks and the flue stayed dry.
How it works
- 1
Site Inspection
We examine the crown, flue tile, and surrounding masonry for cracks, spalling, and water staining from the roof in Montgomery.
- 2
Preparation and Removal
Loose concrete and old sealant are chipped away, and the area is cleaned to ensure a solid bond for the new crown material.
- 3
New Crown Installation
A reinforced concrete mix is formed with correct slope and overhang, then finished with a drip edge and sealed at the flue joint.
- 4
Final Check and Cleanup
Water testing confirms proper drainage, debris is removed from the roof, and the work area is left clean.
Pricing
Upfront quotes provided after inspection; cost varies with chimney size, access, and extent of masonry damage.