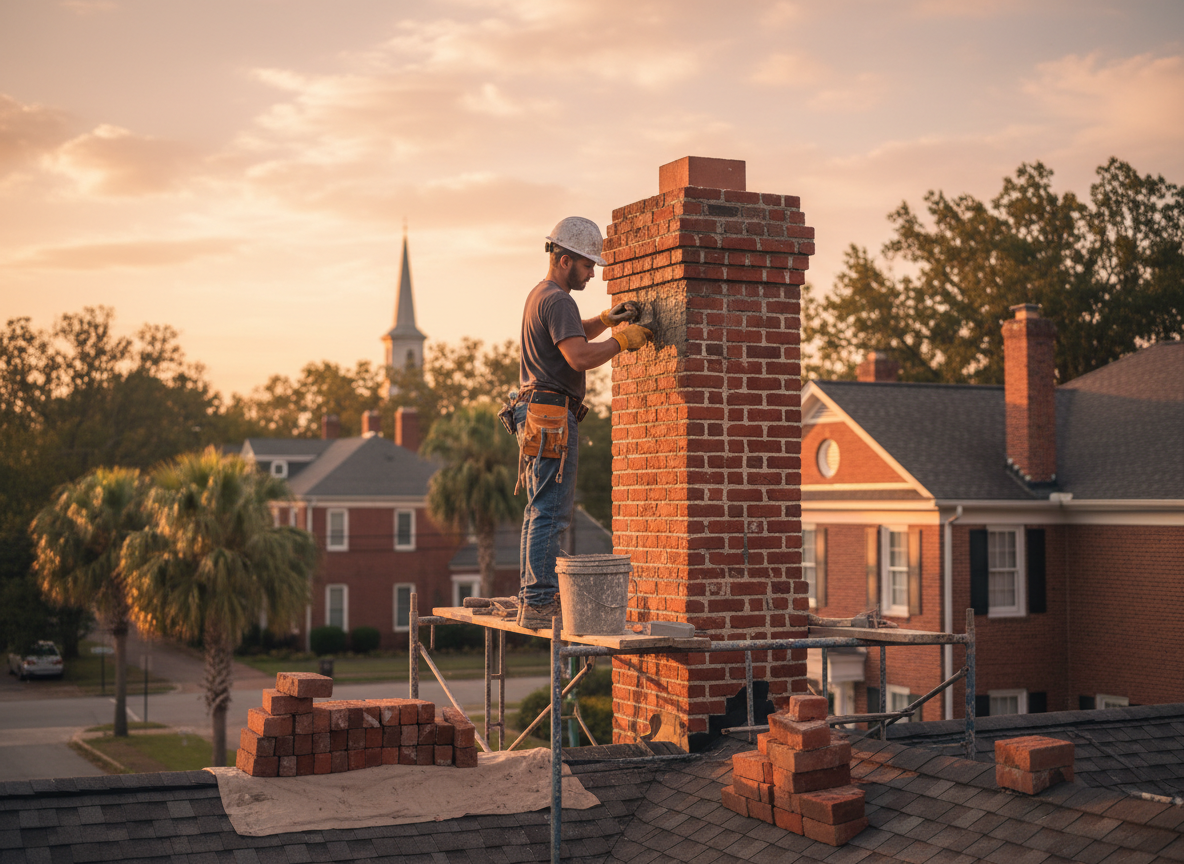
Chimney masonry in Montgomery homes often suffers from repeated freeze-thaw cycles that push mortar joints apart and spall brick faces. Homes built before the 1970s in neighborhoods like Montgomery Square and along Montgomery Road typically use soft brick and lime mortar that cannot handle modern Portland-cement patches without trapping moisture. Proper repair starts with raking out failed joints to a minimum depth of three-quarters of an inch, then repointing with a compatible Type N or O mortar matched to the original composition. Flashing at the roofline must be checked at the same time because ice dams along the north slope frequently drive water behind the crown and into the flue.
Edge cases appear when homeowners attempt DIY tuckpointing with the wrong sand-to-cement ratio, which creates a harder shell that cracks within two seasons and accelerates water entry. In Hamilton County, inspectors look for proper weep holes and stepped flashing on chimneys that penetrate asphalt-shingle roofs; missing steps allow runoff to migrate into the masonry during spring thaws. Access on steeper lots near the Little Miami River corridor often requires scaffolding rather than ladders, adding time but preventing further damage to landscaping or siding.
When the crown itself is deteriorated, a new concrete or precast cap with a drip edge and proper pitch is installed rather than simply parging over the old surface. This prevents water from ponding and re-freezing inside the flue. All repairs are left to cure under breathable plastic for at least 48 hours before any rain is expected, a step frequently skipped in rushed work that leads to efflorescence and further spalling the following winter.
Technician insight
In Montgomery, the thing that catches most people out with chimney masonry repair is the freeze-thaw cycles that open mortar joints on pre-1970 brick chimneys; homeowners often try to patch with modern cement that traps moisture and makes the next winter worse.
Spalled Brick on North-Facing Chimney
Water had entered through open joints on a 1960s brick chimney in Montgomery, causing several courses to spall on the north side. We found the original lime mortar had eroded and the flashing had lifted under ice pressure. We raked and repointed the joints, rebuilt the crown with a new drip edge, and resealed the step flashing. The chimney now sheds water properly and the homeowner reports no further interior staining after the first hard freeze.
How it works
- 1
Site Assessment
Examine brick condition, mortar joints, crown, and flashing from roof level down to the foundation on the specific Montgomery property.
- 2
Joint Preparation
Rake out failed mortar to adequate depth, clean dust and debris, and verify no active water intrusion remains behind the masonry.
- 3
Repointing and Crown Work
Install compatible mortar, rebuild or replace the crown with proper slope and drip edge, and reseal flashing where needed.
- 4
Cure and Final Check
Protect fresh work during curing, then inspect for uniform joints, drainage, and absence of new cracks before leaving the site.
Pricing
Pricing depends on the height of the chimney, extent of brick and mortar damage, and whether scaffolding or roof access is required.